Y‑Axis Gantry Assembly
The Y‑axis gantry converts your base frame into a moving system. In this stage you’ll install wheels, spacers, and fasteners on mirrored gantry plates, and confirm smooth preload on the 2040 extrusion.
Install Lower Wheels and Spacers
Begin by attaching the two bottom wheels to the gantry plates. While plastic spacers can be used, metal spacers are strongly recommended for durability. (Our reference build used plastic spacers.)
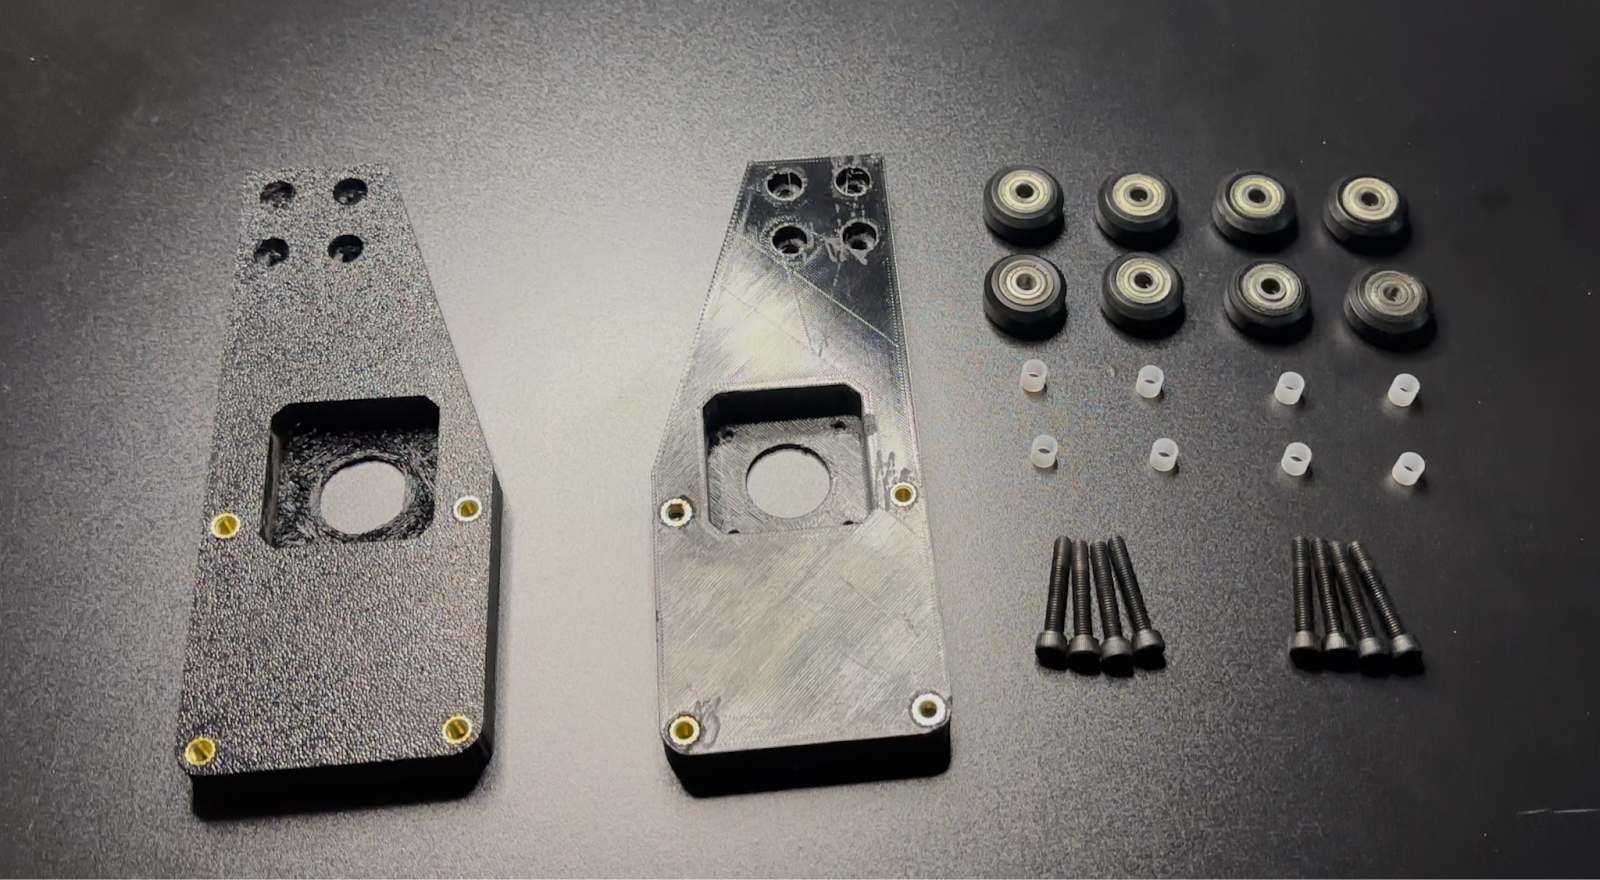
Tip: Slide the wheel + spacer onto an M5 bolt, then thread the bolt through the gantry plate for easier alignment.
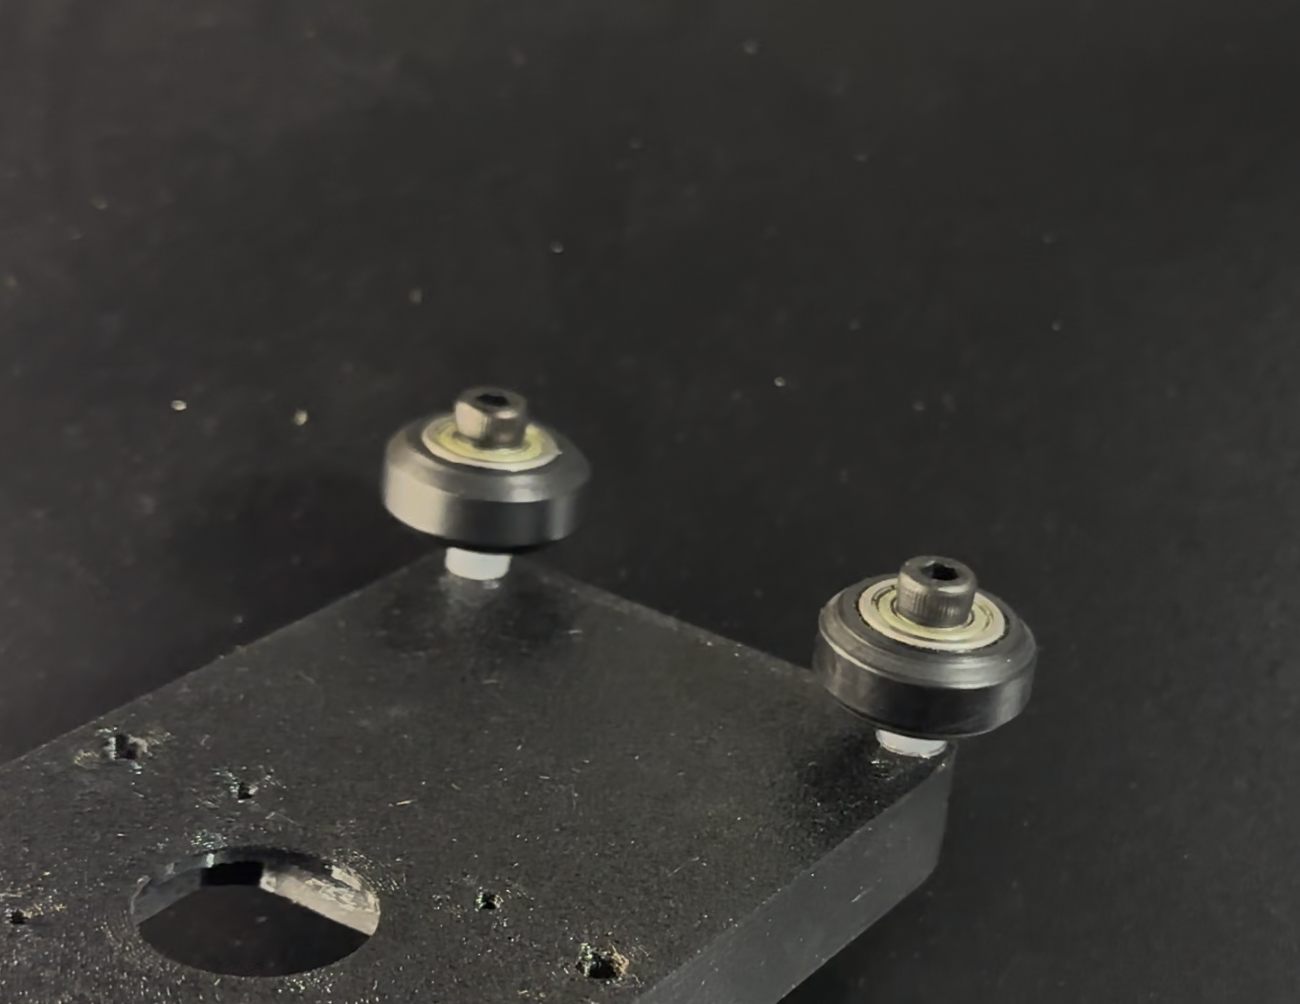
Place the bottom wheels flush against the underside of the 2040 extrusion and verify free rotation.
Mount Wheels to the 2040 Extrusion
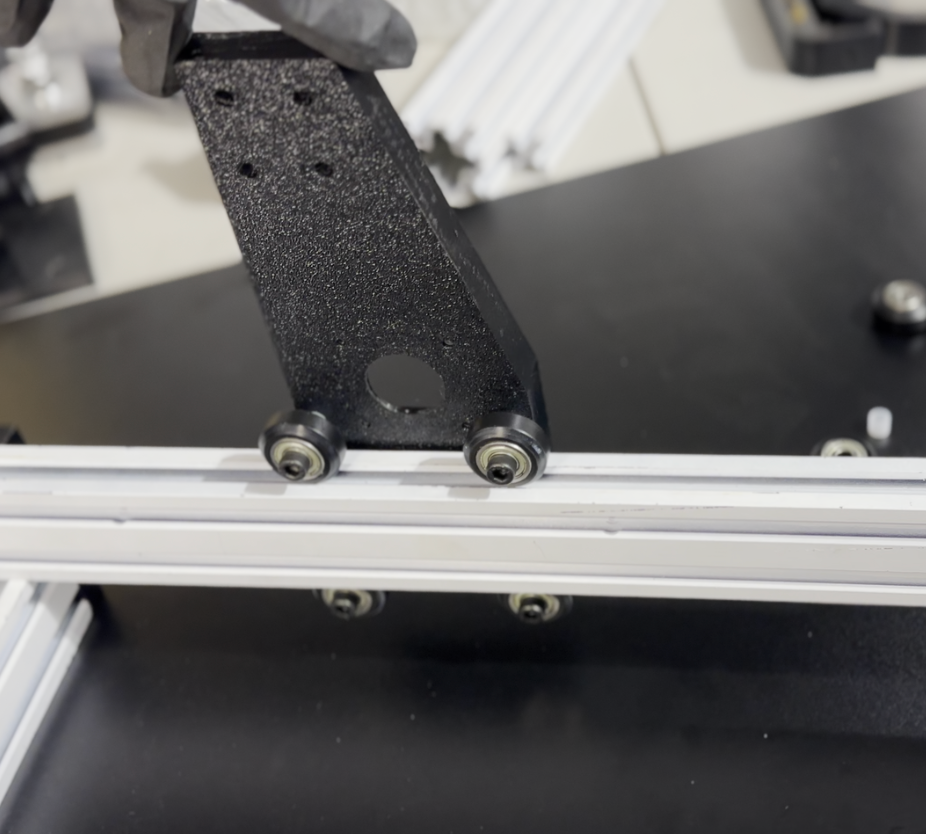
With both bottom wheels installed, slide the gantry plate onto the 2040. The wheels should contact the underside and roll smoothly.
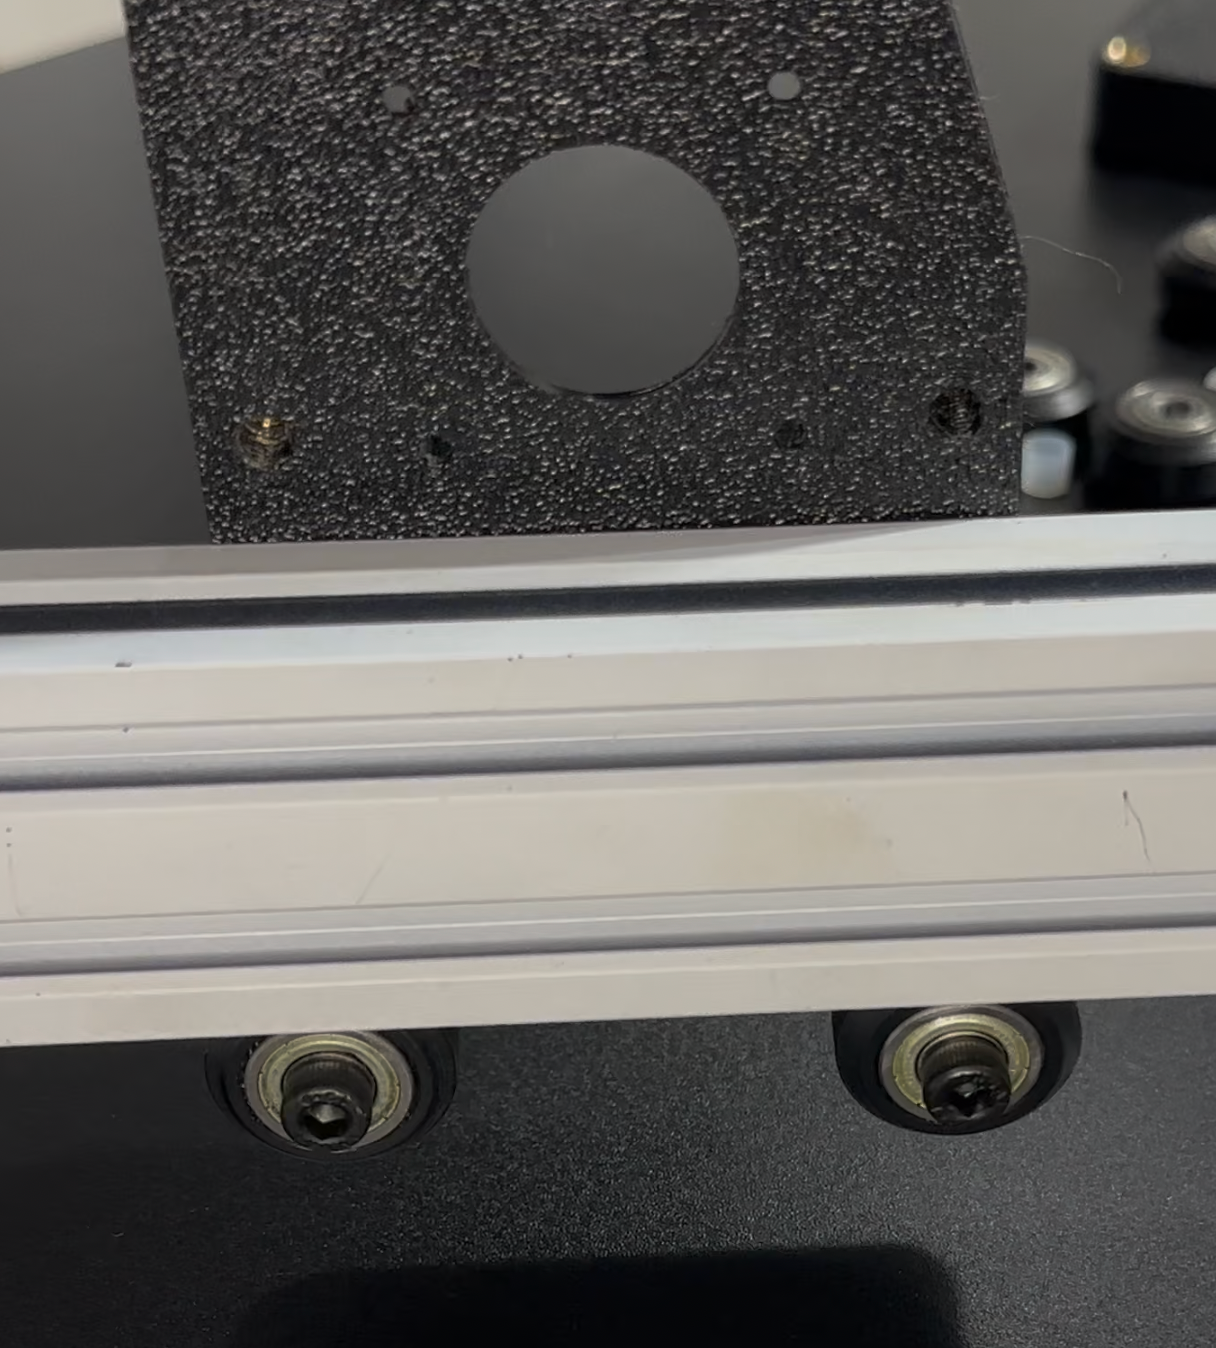
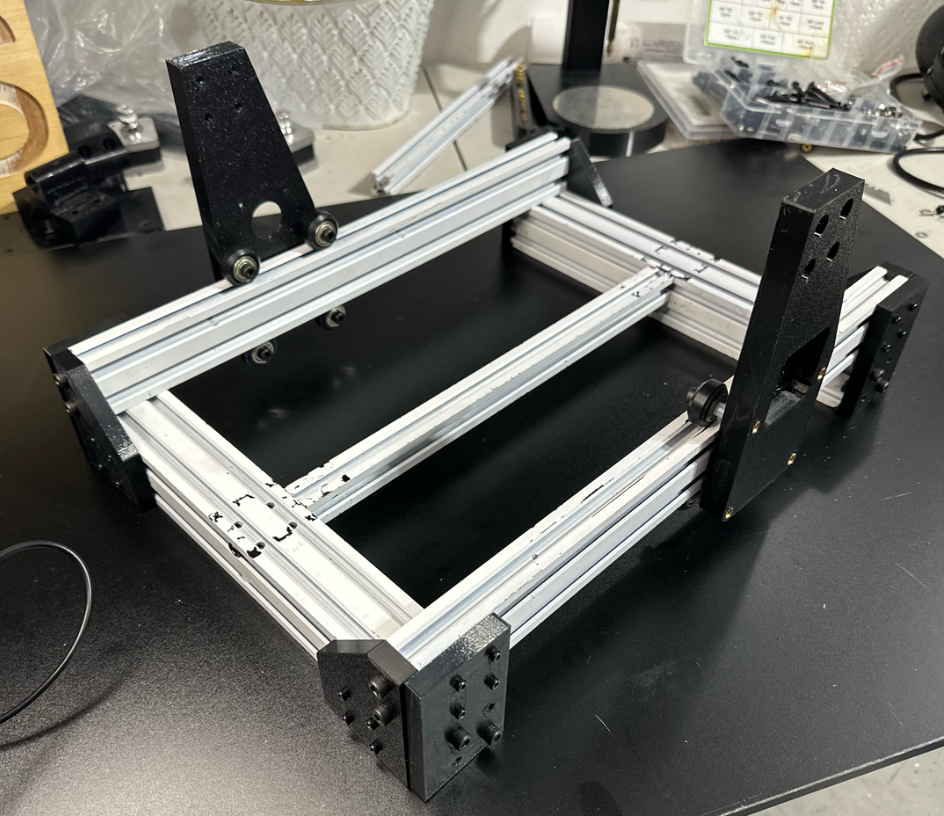
At this stage your setup should resemble the example below, with the gantry plate moving freely but without play.
Mirror for Opposite Side
Repeat the same steps on the opposite side of the machine and mirror the assembly so both gantry plates oppose each other correctly. When complete, the build should match the configuration shown here.
Summary
You should now have:
- Two mirrored Y‑gantry plates installed on the 2040 extrusion
- Lower wheels and spacers fitted and running smoothly
- Correct baseline tension with no visible play